Chat with your Obsidian vault!
In my previous post I outlined how to set up Ollama and Continue to create a Copilot-like experience entirely local. The main focus of that article was coding, but I have a second usecase for this stack, that is much more exciting.
Motivation
The motivation behind this integration is that all my notes are stored in Obsidian, in plain old Markdown format. This simplicity has a significant advantage: I can interact with them programmatically. For instance, I can change the formatting of all my notes on a whim (hello/goodbye Zettelkasten) or perform other custom actions on them.
I realized that I can use Continue’s Context Selection tools to equip a local LLM with the info from my notes!
I will assume that you followed all the steps from the previous post, and have a working Ollama + Continue stack in VSCode, alongside an Obsidian vault you want to talk to.
This post is going the be a brief demo of some of the features I think are the coolest usecases. I am quite new to this myself, so if you have other usecases, I’d love to hear!
Setup
First and foremost, open up your Obsidian vault’s folder in VSCode.
I recommend turning code completion off for this (Continue: Toggle Autocomplete in the command palette), since Continue will try to “complete” any text you write :D
Then navigate to your detailed Continue options, either through the three dots besides the cog in the chat window, or open your command palette (cmd+shift+P) and type Continue: More.
The magic happens in the @codebase index: 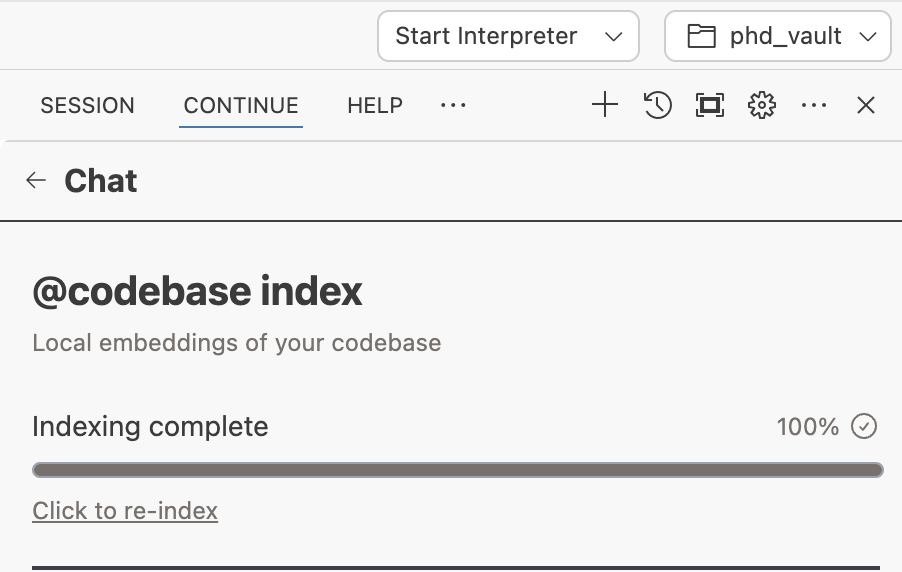
This is where you can create an index of your entire “codebase”, in our case, your Obsidian vault. Once you indexed it, it has created a locally stored embedding of all your notes.
How it works
From here on, you can use any of the Context Selection tools in Continue to work from.
A few notable ones:
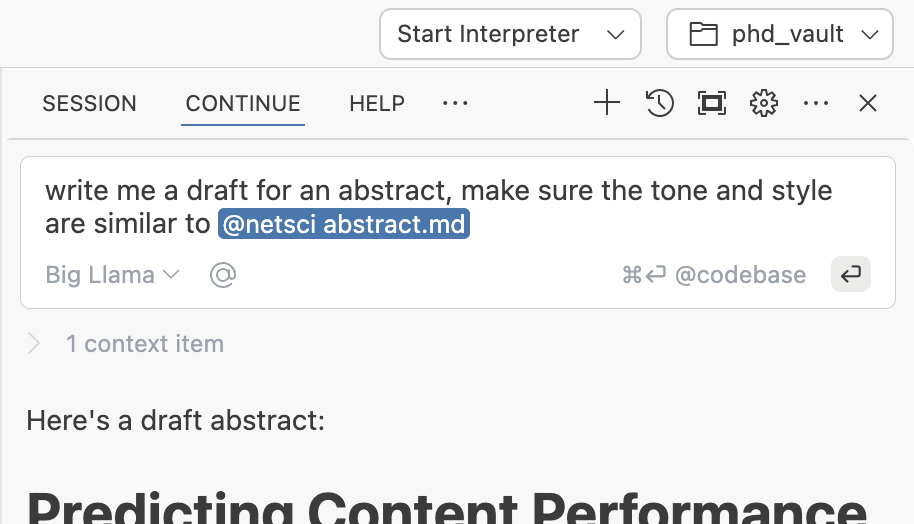
@File
This way you can reference any file in your vault, and pass it on as context. Particularly useful when you want to give an example file to the model to work from:
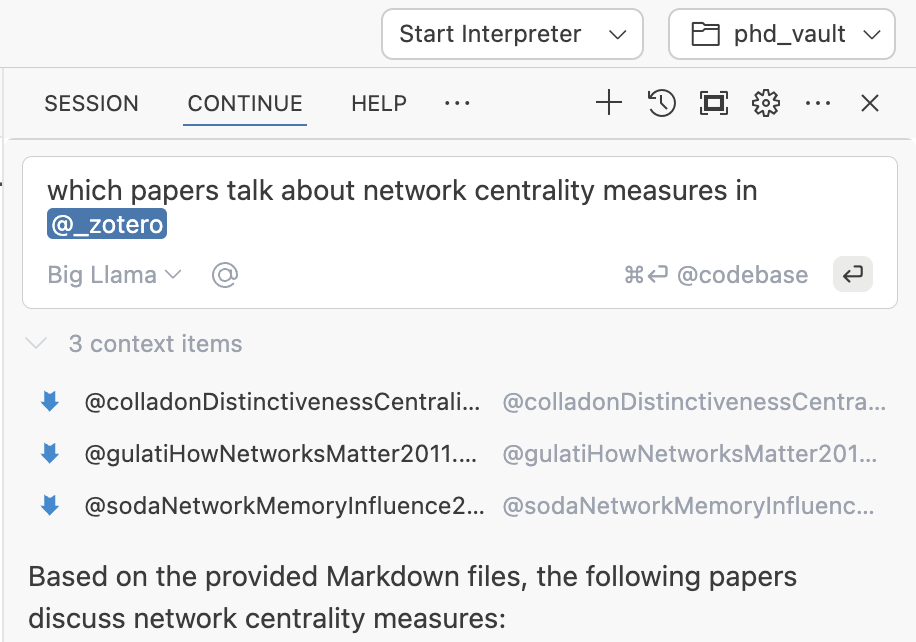
@Folder
Pass an entire folder as context! I like to use this in conjunction with my literature notes from Zotero, to find my my notes on papers that talk about a given topic:
@Codebase
You can invoke this by sending a chat message with cmd+Enter in the chat window. Using this, the model will look through your entire indexed codebase to use for the answer. Important to keep in mind, that this doesn’t use the entire codebase as context: rather, it retrieves the files that it deems most useful, and uses those as direct context for the model reply.
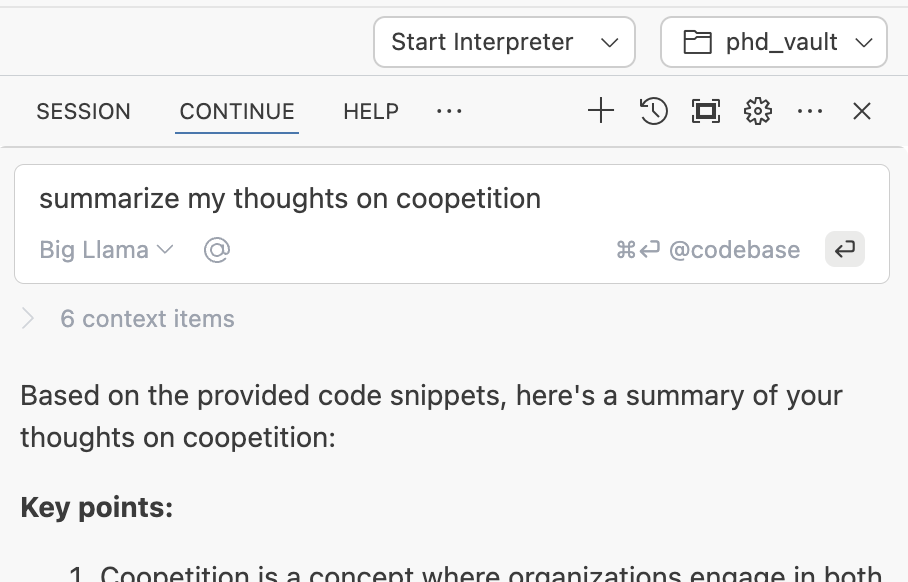
A few examples for usecases can be found at the Continue docs about @Codebase, but en general this tool is more for high level overviews rather than “find every typo in my codebase” type of tasks.
How to tweak
Customise RAG
You can customize some of the RAG behavior through your config.json. Detailed descriptions can be found at the docs, but the gist is that when using folders or the codebase as context, Continue retrieves a larger number of relevant documents initially, then reranks them to find the the most fitting ones, and uses those as context. This way it “narrows down” the request twice, focusing only on the most relevant files.
One of the reasons for this is to conserve as much of the context window (previous chats, your input, etc), but whether this tradeoff is worth it for you, you can decide yourself. By tweaking some of the parameters, you can adjust this behavior nicely (even separately for @Folder and @Codebase)!
Custom slash-commands
At the time of writing (2024.12.06) I couldn’t figure out how to get the responses from the LLM into the chat window properly. I’m not sure if I’m missing something, or if it’s a bug with Continue, will update as I learn more.
A cool tool is what they call “slash-commands”. These are shorthands you can use in the chat to use templated prompts for specific purposes, such as /share which exports your chat conversation to a markdown file, or /test which writes unit tests for your selected function.
Continue enables you to fully customize your slash commands. This means you can define your own shorthands!
One of my workflows is writing nested bulletpoint lists as drafts for documents, this helps me figure out my thinking, and quickly reorganize them as needed. However, after the draft is done, there is still the task of writing that out as text. I like to use LLMs to generate a first version of text, that I can start editing to my taste.
Here’s a custom command that enables me to very quickly expand bulletpoints to sentences:
customCommands=[{
        "name": "expand",
        "description": "Expand selection to paragraphs",
        "prompt": "{{{ input }}}\n\nPlease read the highlighted bulletpoints and expand them into fluid text. You should always respect the indentation in nested lists as hierarchy in the text. \nYou should always stick to factual information in the bulletpoints. \nMake sure the tone of the text you write is coherent with the rest of the document."
}]
Summary
I think this opens up a world of possibilities when it comes to interacting with your notes! I found that this is quite a natural way for me to intergrate LLMs with my Obsidian notes, and I’m only getting started!
Let me know if this sparked any ideas, and happy tinkering!